Resources / Crafts
Festive & Fun Recycled Paper Gift Toppers: Figure 8 Bows

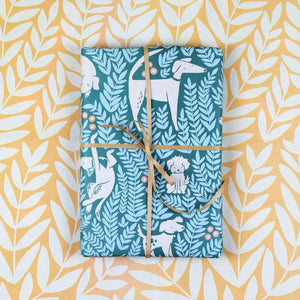
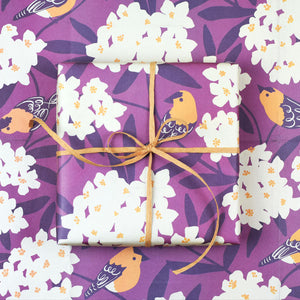
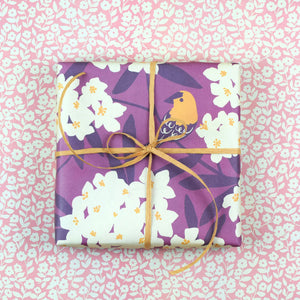
Wondering what to do with all those odd sizes of leftover wrapping paper scraps or the 1000 holiday catalogs that are currently crowding your mailbox? This loopy figure 8 bow is festive, fun, and easy-to-make AND it will put to use some of that scrap paper in your recycling bin!
These bows look complicated, but I promise they aren’t! Made from strips of paper, you can make beautiful bows from colorful catalog pages, narrow pieces of leftover gift wrap, and even kraft packing paper for that special rumpled brown paper package look. Whatever paper you choose, this loopy bow is sure to make someone smile. Read on for instructions. Enjoy!

Materials
- Paper (check the size guide below)
- Scissors
- Ruler
- Pencil
- Non-toxic Glue Stick
STEP ONE: CUT THE STRIPS


You will need a total of 5 to 9 paper strips, depending on your bow size. In these instructions, I show both the 9-strip and 5-strip versions side by side. Use the guide below for sizing your strips. Tip: Jumbo bows or tiny bows, a rule of thumb is to size down each series of strips by about one inch. Longer strips will make bigger bows, shorter strips will make smaller bows. Fewer are needed if you cut wide strips, more are needed if you cut narrow strips. Here are some sizes to try:

SMALL 9-STRIP BOW
Cut ½-inch wide strips
(3) 7-inch long
(3) 6-inch long
(2) 5-inch long
(1) 3-inch long

SMALL 5-STRIP BOW
Cut 1-inch wide strips
(2) 7-inch long
(2) 6-inch long
(1) 3½-inch long

MEDIUM 9-STRIP BOW
Cut 1-inch wide strips
(3) 11-inch long
(3) 10-inch long
(2) 9-inch long
(1) 4-inch long

MEDIUM 5-STRIP BOW
Cut 1½-inch wide strips
(2) 11-inch long
(2) 10-inch long
(1) 4-inch long

LARGE 9-STRIP BOW
Cut 1½-inch wide strips
(3) 16-inch long
(3) 15-inch long
(2) 14-inch long
(1) 6-inch long

LARGE 5-STRIP BOW
Cut 2-inch wide strips
(2) 16-inch long
(2) 15-inch long
(1) 6-inch long
When cutting the strips there are many strategies depending on what tools you have and how precise you want to be. You can use a ruler and pencil to lightly mark the cutting lines. You can fold gentle creases to mark the cut path. Or if you have the tools, you can use a paper cutter or cutting mat, blade & straight edge. Or you can be bold and eyeball it. I have been known to do this when in a hurry. The bows still look great. There are so many twists and loops that any imperfections are easily hidden. No need to be too fussy!
STEP TWO: MAKE FIGURE Eights

Fold all but your smallest strip in half end to end and mark the centers with a crease. Unfold. Starting with one of the longest strips, rub a little glue on the center crease. Without sticking it down yet, fold over one end and align it with the center crease. Twist the end over in place to create a twisted loop, as shown, and stick it down to the glue. Repeat with the other end of the strip: fold, twist, and stick, creating a figure eight. Press down with your finger for a moment to ensure the glue sticks. Repeat this step for all the strips except for the shortest one. Make a simple ring for the shortest piece.


STEP THREE: ASSEMBLE LAYERS


Start with the largest figure eights to create the base. Stack them together, evenly spacing, and secure in place with glue. Repeat this process with the remaining figure eights, evenly spacing and securing each layer with glue. The 9-strip bow will have two 3-loop sections, one 2-loop section, and the center ring (as shown in image above on left). The 5-strip bow will have two 2-loop sections, and the center ring (as shown in image above on right). You can layer piece by piece or assemble in groups, as shown.
STEP FOUR: WRAP IT UP


Once all the layers are secured together, stick on to your wrapped gift with a smear of glue. Happy gifting!
All the hugs,